This is the Battle report for the raid gone wrong scenario I posted a couple of days ago. You can see all of the background information and set up here.

As per the scenario, the table is quite sparse and the objectives are spread randomly across it. To declare total victory, the Scots must move 4 of the eight objectives off their edge. There are 6 stands of sheep, a wagon (in the cottage's shadow) and a stand of horses.

To represent the speed of a Scot raid, the raiders received 1D6 free moves before the Saxons were on the table. They rolled a pathetic 1 and thus began slowly lumbering towards the objectives. The warlord ordered them to split into three groups, one on each flank and one aimed straight down the center.

The Saxons were randomly assigned the Western table edge. As the Scots made their way towards the objectives in three groups, the Saxon warlord and thegns appeared on their flank. It was going to be tough for the Scots to win without the expected head start.
In the first turn, the Saxons receive two soldiers of the fyrd as reinforcements. These men are ordered to secure the wagon of ale and drag it to safety. The warlord and his thegns organize into a shield wall and marched towards the Scots right flank, hoping to reach a defensible hill before the Scots do.

The second turn sees priority for the Saxons again, and a further 6 reinforcement troops. Using the initiative, the Saxons move their shield wall to the hill just before the Scot right flank crashes into it. In the center, the Scots capture some sheep and move them at full speed for their table edge.


The lightly armored Scots throw themselves on the Saxon thegns. In the ensuing scrum, the disorganized rabble is no match for the formation of household troops and 4 Scots are pierced by Saxon blades.

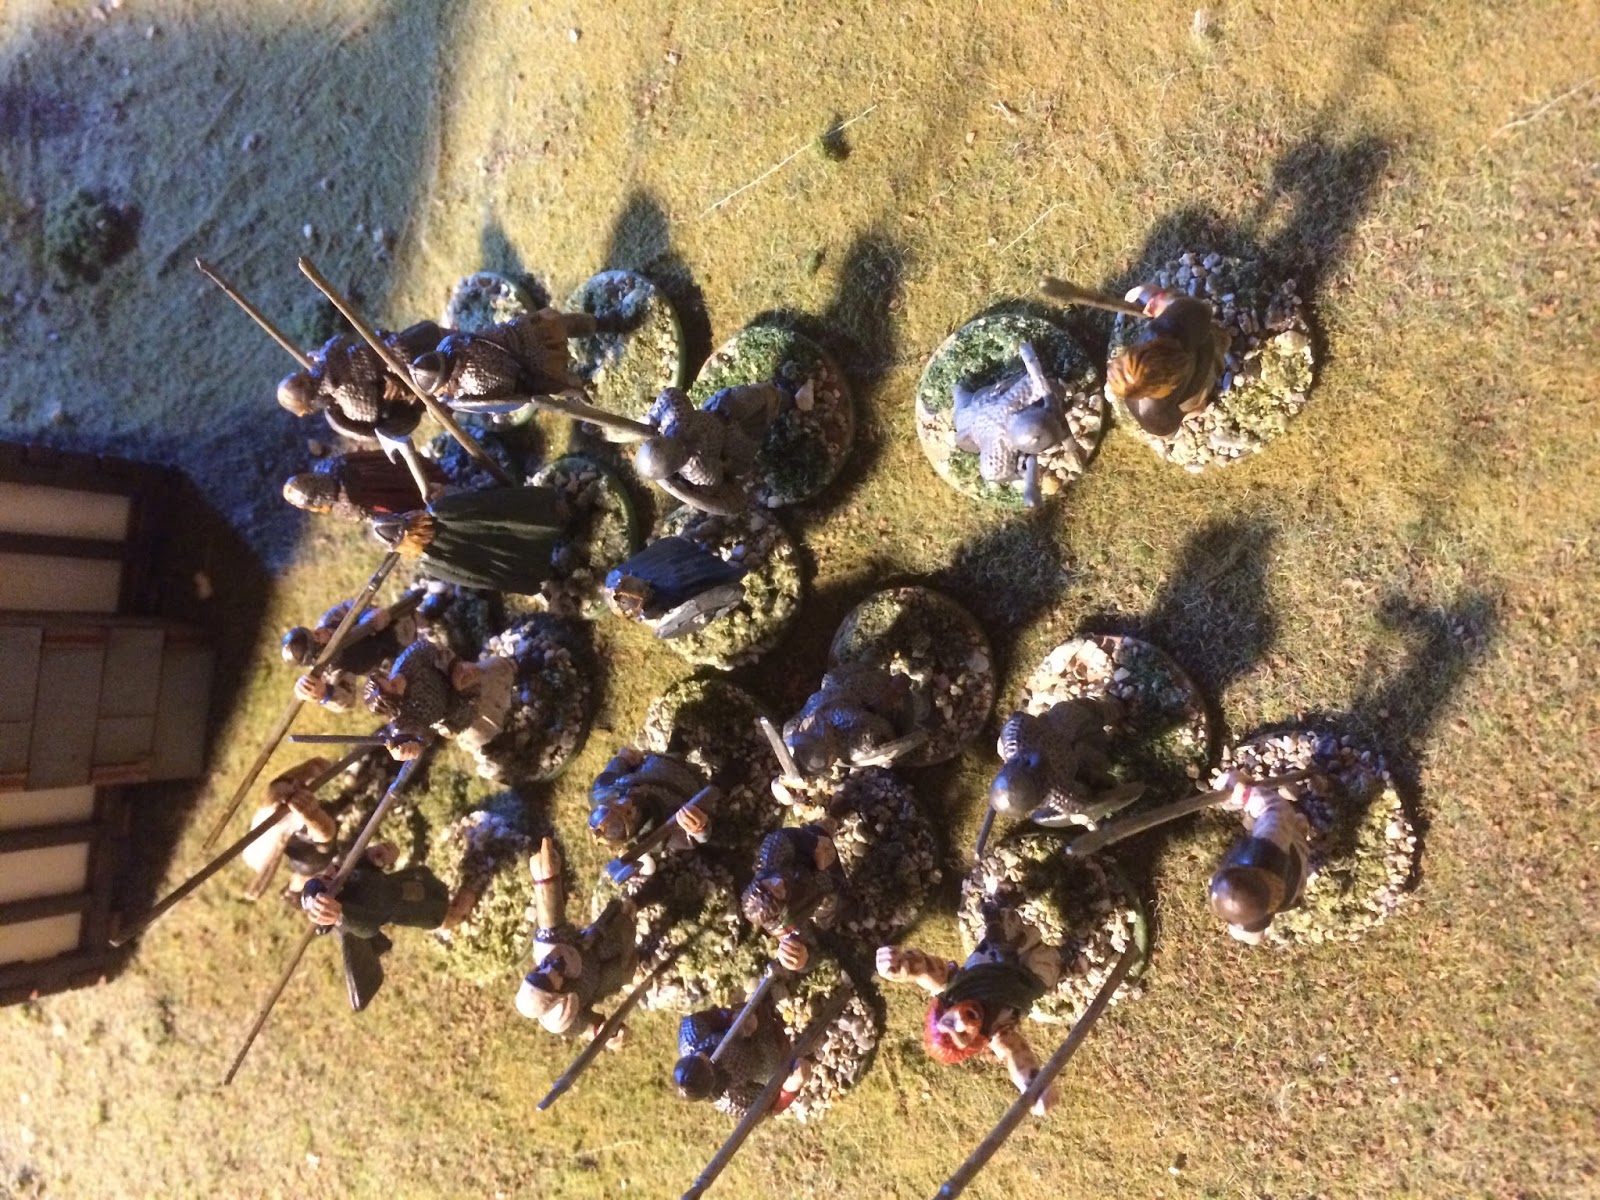
In turn three, priority once again goes to the Saxons, allowing the thegns to charge down the survivors of the attack on the shield wall before they can regroup. The Scot lord in the center recognizes the futility of sending more troops to his right flank and instead retreats towards the cottage. The Scot right flank is given up for lost! The Saxon fyrd heads towards the center of the table with another soldier as a reinforcement . The Scots have entered the paddock and begin leading the sheep towards their edge.

The Scot right flank is crushed as the Saxon troops cut down another three warriors in their follow up charge (Sorry for the blurry picture, it is caused by the tears of defeated Scots).

As the Scots finally gain priority in turn 4, they consolidate their troops into a shield wall facing the Saxons on the hill. The few survivors of the right wing battle the 2 Saxons sent to finish them off in the corner of the table.

The victorious and bloody Saxon shield wall on the hill watches as their hated opponents form up.


The cornered Scots miraculously slay a Saxon guard, and charge into a second one, killing him as well!

Turn 5 has more Saxon fyrd arriving and heading to the center of the table. The Scot left has almost reached the sheep and in the center the two captured stands were getting closer to the table edge. The Saxon shield wall begins moving towards the Scot warlord's troop. The few remaining Scots of the right wing move in to aid their warlord against the approaching shield wall.

In turn 6, the Scots get priority and their warlord charges forward with his wall of men. The Scots on the flank are able to hit the rear of the Saxon formation. The shield walls clash, and the Scots once again bear the brunt of the damage. They take two more casualties and their lord is wounded! Their left has reached two more stands of sheep however and begin leading them to safety!

The Scots again gain priority in turn 7 and decide to continue the battle on the right. More men from the defeated Scot right wrap around the left of the Saxon shield wall. This pushing match of shield walls devolves into a free for all as the Socts warlord vainly tries to overwhelm the stolid Saxon guard. He apparently has made the wrong choice and the Saxon formation cuts down another two Scot warriors.

In the center of the table, a lone Scot guard prepares to face down a horde of fyrd in order to protect his men leading the sheep to safety.

Turn 8 sees priority pass to the Saxons. They retreat from the Scot warlord in order to reform their shield wall, which is bolstered by some arriving men of the fyrd. The beleaguered Scots also retreat, intent on simply protecting their left long enough to get the sheep off of the table. The Saxon fyrd behind the cottage moves toward the rear of the new Scot formation. The Scots do manage to move 2 more stands of sheep off of the table. Only one more to gain total victory!

The fyrd surrounds the lone Scot and moves to head off the soldiers leading the sheep.

The Scot guard not only fights off 5 attackers, but slays one of them!


Turn 9 sees desperation from the Scots. The warlord hurdles the fence and leads a handful of men towards his left flank and only hope of victory. The men he left behind face the fyrd to their rear and an approaching Saxon shield wall to their front. Turning to the rear, they manage two cut down 2 Saxons. The Scots moving the sheep to the left are forced to fight against charging fyrd intent on saving their mutton, however two of them are overwhelmed and slaughtered. This turn sees the Scots dangerously low on men, but the Warlord manages to pass a courage test and rallies his remaining troops.

The Scot Warlord takes priority in turn 10 and hurries to save his left, but is too late to prevent the last Scot on that wing from being killed. The Saxon fyrd turns to face him as he prepares to hurdle the second waddle fence. In the center, the fyrd and remaining Scots battle, with two more fyrd and one Scot biting the dust.

Saxon priority in the 11th turn allows the fyrd on the left to form into a shield wall to receive the Scot warlord's charge. The Scots only hope is for their warlord to smash this small wall and then escape the field with the few sheep they have already captured.

The fates are with the Saxons and a lowly soldier of the fyrd skewers the mighty Scot warlord on his spear. All hope is lost for a Scot victory!

With their warlord dead and a Saxon shield wall maneuvering to block their retreat, the few remaining Scots surrender to the mercies of the Saxons.
A great battle all around. Poor dice rolls at the start of the game really messed up the Scots chances as they missed an opportunity for a head start and lost way too many men in the first couple of combats.
Great AAR! I really like your figures and terrain.
ReplyDelete